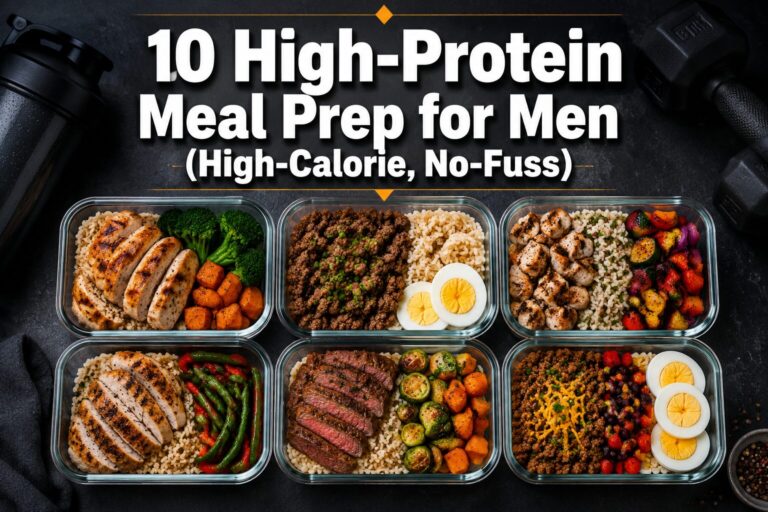

Quick Answer: The 4 juicy air fryer chicken thighs meal prep methods that stay moist are: dry brine seasoning, wet marinade, sauce-glazed, and compound butter under the skin. Each method uses the air fryer’s circulating heat to lock in fat and flavor, and all four hold up well in the fridge for 4 to 5 days without drying out.
Tested in Maya’s kitchen, August 2026. All four methods cooked, stored, and eaten across a full 5-day week in a 6-quart basket air fryer. Temps, times, and Day 1 through Day 5 quality verified by eating through the results.
Key Takeaways
- Bone-in, skin-on chicken thighs are the best cut for meal prep because the bone and fat layer protect moisture during cooking and reheating.
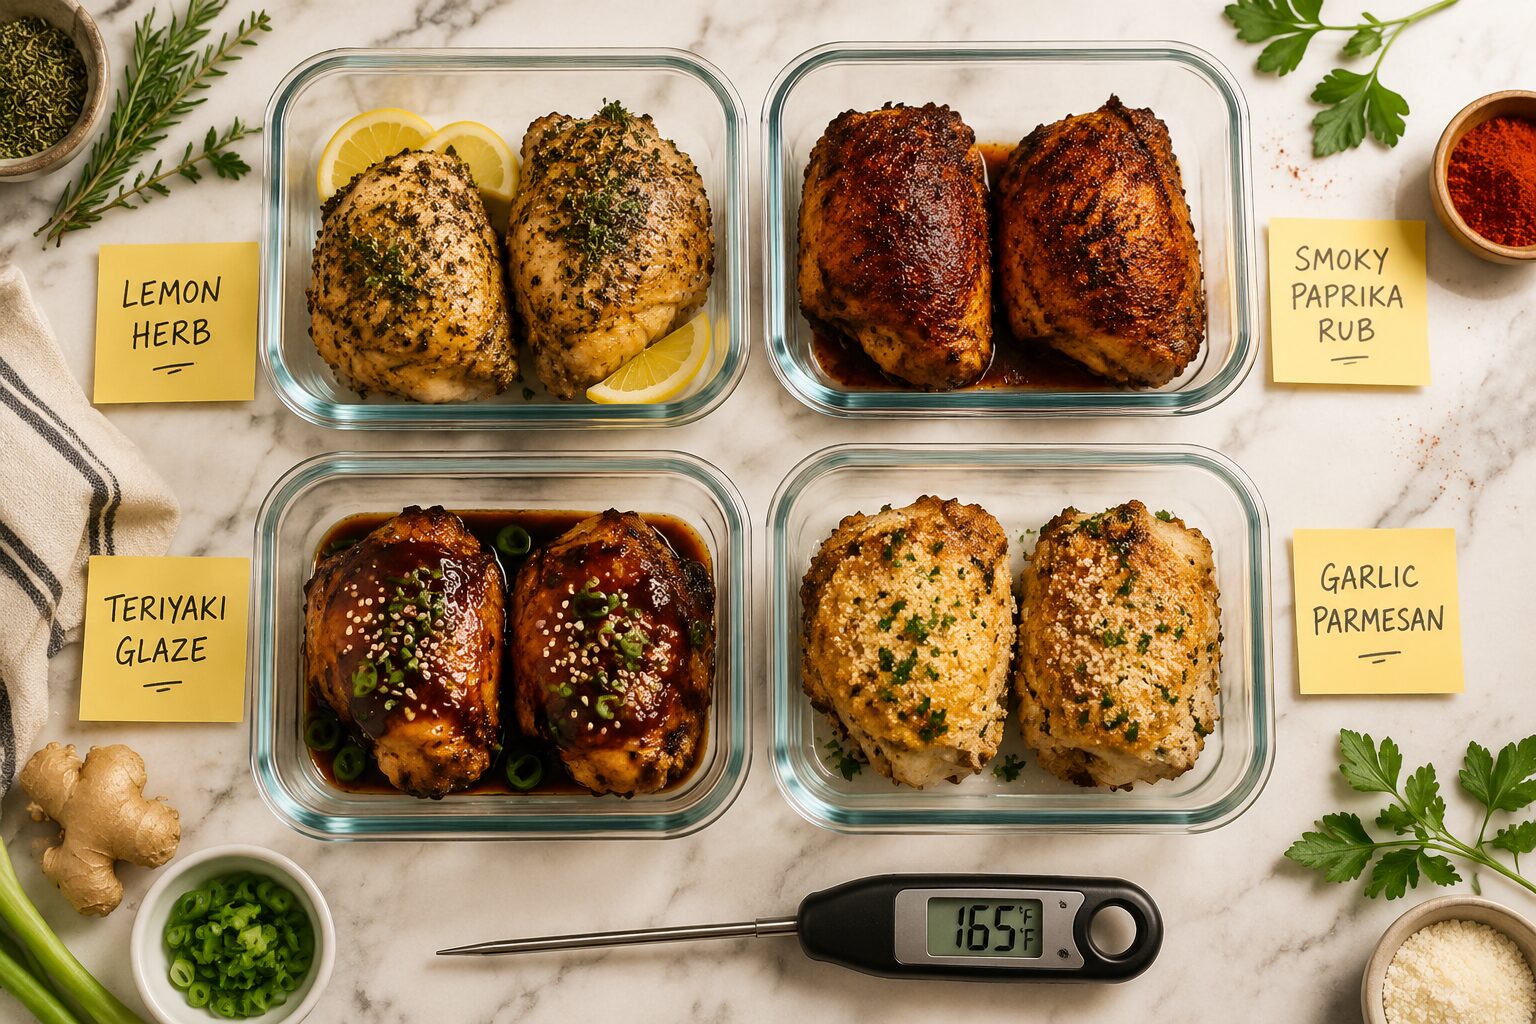
- The four methods covered here are: dry brine, wet marinade, sauce glaze, and compound butter. Each suits a different flavor profile and weekly meal plan.
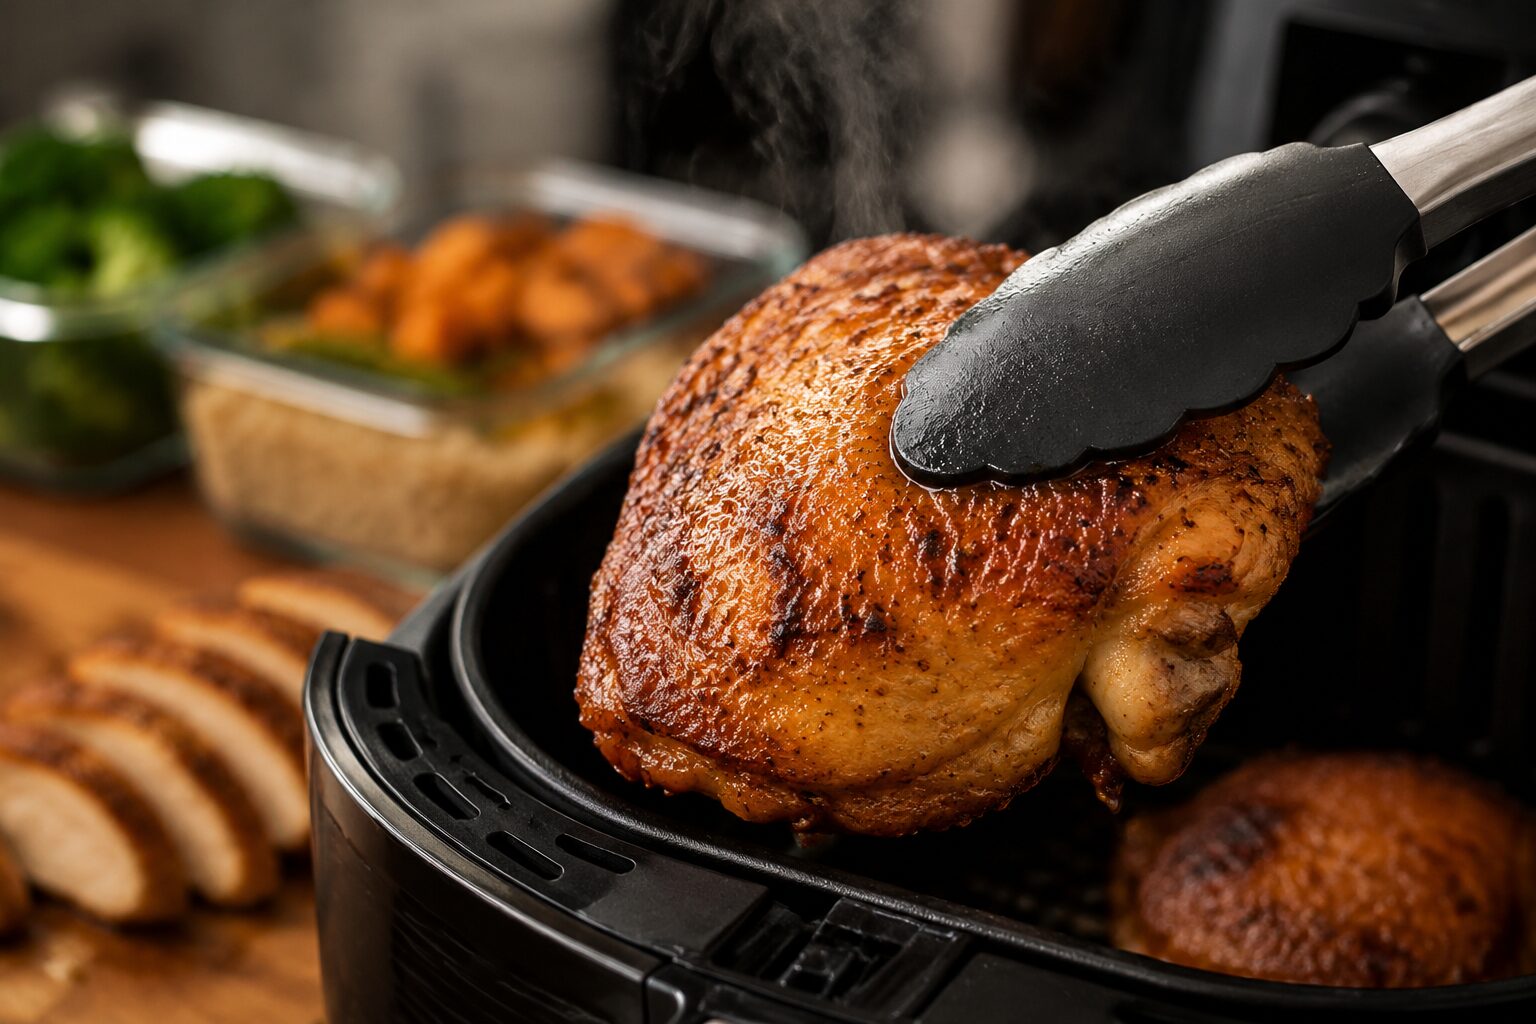
- Cook chicken thighs at 380°F to 400°F (193°C to 204°C) for 20 to 25 minutes, flipping once halfway through.
- Always confirm an internal temperature of 165°F (74°C) using a meat thermometer before storing or eating.
- Store cooked thighs in airtight containers in the fridge for up to 4 to 5 days, or freeze for up to 3 months.
- Reheat in the air fryer at 350°F for 5 to 7 minutes to restore crispness without drying out the meat.
- Avoid overcrowding the air fryer basket. Cook in a single layer with at least 0.5 inches of space between pieces. Stacking or overlapping thighs traps steam, which prevents skin from crisping and extends cook time by 6 to 8 minutes. The outer pieces finish while the center pieces remain underdone and reach safe temp unevenly.
- Letting cooked thighs rest for 5 minutes before storing helps the juices redistribute and stay in the meat.
Why Chicken Thighs Are the Best Cut for Meal Prep
Chicken thighs stay moist after cooking and reheating because they have more fat and connective tissue than chicken breasts. This makes them far more forgiving in the air fryer and in the fridge.
Chicken breasts can dry out quickly if overcooked by even a few degrees. Thighs, especially bone-in and skin-on, have a natural buffer. The fat under the skin bastes the meat as it cooks, and the bone holds heat evenly so the interior stays juicy.
For a direct comparison of how these cuts perform in the air fryer, check out our guide on air fryer chicken breast meal prep versus thighs.
Choose bone-in, skin-on thighs if: you want the juiciest result with the most flavor and the best texture after reheating.
Choose boneless, skinless thighs if: you need shorter cook times or want to slice the meat for bowls and wraps. They still stay moister than breasts, but need slightly more attention to avoid overcooking.
| Cut | Protein per 4 oz cooked | Fat per 4 oz cooked | Calories per 4 oz | Protein per $1 (est.) | Best for |
|---|---|---|---|---|---|
| Bone-in, skin-on thigh | 27g | 15g | 247 kcal | ~12g/$1 | Max flavor, 4-5 day storage |
| Boneless, skinless thigh | 28g | 8g | 186 kcal | ~16g/$1 | Lower fat, faster cook, slicing |
| Boneless, skin-on thigh | 27g | 14g | 237 kcal | ~13g/$1 | Balance of speed and moisture |
| Chicken breast (comparison) | 35g | 3g | 165 kcal | ~18g/$1 | Highest protein; dries out faster |
Source: USDA FoodData Central, 2023. Values are approximate and vary by brand and exact cooking method.
What You Need Before You Start
Before getting into the 4 juicy air fryer chicken thighs meal prep methods that stay moist, gather these basics:
Equipment:
- Air fryer (basket or oven-style, at least 5 to 6 quart capacity for 4 thighs)
- Instant-read meat thermometer
- Airtight glass or BPA-free plastic meal prep containers
- Tongs and a wire rack or cutting board for resting
Ingredients (base for all four methods):
- 4 bone-in, skin-on chicken thighs (about 6 to 8 oz each)
- Olive oil or avocado oil
- Salt and black pepper
- Method-specific seasonings (detailed below)
Prep tip: Pat the chicken completely dry with paper towels before applying any seasoning or marinade. Dry skin = crispier skin. Moisture on the surface creates steam, which works against browning.
How Many Thighs Fit in Your Air Fryer?
This matters before you buy ingredients. Crowding guarantees steamed, pale skin. One layer only, with at least half an inch between pieces.
| Air Fryer Size | Basket Area (approx) | Max Bone-in Thighs (single layer) | Notes |
|---|---|---|---|
| 3.7 qt | ~8″ x 8″ | 2 thighs | Cook in 2 batches for 4 servings |
| 5 qt | ~9″ x 9″ | 3 thighs | Tight fit; leave space at edges |
| 6 qt | ~10″ x 10″ | 4 thighs | Standard batch — fits this recipe exactly |
| 8 qt | ~11″ x 12″ | 5 to 6 thighs | Scale recipe by 1.5x for efficiency |
For a broader look at what proteins work well in the air fryer for weekly cooking, browse our air fryer meal prep ideas.
The 4 Juicy Air Fryer Chicken Thighs Meal Prep Methods That Stay Moist
Here are the four methods in detail. Each one produces moist, flavorful chicken thighs that hold up through the week.
| Your Goal This Week | Best Method | Peak Eating Days | Extra Prep Time |
|---|---|---|---|
| Versatile base that goes with anything | Dry Brine | Days 1 to 3 | 1 to 24 hr fridge rest |
| Bold flavor with minimal work | Wet Marinade | Days 2 to 4 | 2 to 8 hr marinade |
| Restaurant-look, saucy bowls | Sauce Glaze | Days 1 to 2 | None (glaze at end) |
| Richest result, best for Day 4 and 5 | Compound Butter | Days 2 to 5 | 20 min butter soften |
Method 1: Dry Brine Seasoning
Best for: Meal preppers who want a simple, versatile base that works with any cuisine throughout the week.
A dry brine is just salt applied directly to the meat and left to sit before cooking. The salt draws out a small amount of moisture, then that moisture dissolves the salt and gets reabsorbed back into the meat. The result is chicken that is seasoned all the way through, not just on the surface.
How to do it:
- Pat chicken thighs dry.
- Mix 1 teaspoon kosher salt, 1/2 teaspoon garlic powder, 1/2 teaspoon smoked paprika, and 1/4 teaspoon black pepper per thigh.
- Rub the mixture all over, including under the skin.
- Place on a rack uncovered in the fridge for at least 1 hour, or up to 24 hours.
- Brush lightly with oil before air frying.
- Air fry at 380°F for 22 to 25 minutes, flipping once at the 12-minute mark.
- Check for 165°F internal temperature. Rest 5 minutes before storing.
Common mistake: Skipping the resting time in the fridge. Even 30 minutes makes a noticeable difference in how the seasoning penetrates the meat.
Method 2: Wet Marinade
Best for: Meal preppers who want bold, layered flavor and a slightly saucier result.
A wet marinade adds acid (like lemon juice or vinegar), oil, and aromatics to the chicken. The acid helps tenderize the surface and carries flavor into the meat. For meal prep, keep the marinade time between 2 and 8 hours. Going beyond 12 hours with acidic marinades can actually break down the texture and make the surface mushy.
Sample marinade (makes enough for 4 thighs):
- 3 tablespoons olive oil
- 2 tablespoons lemon juice
- 3 garlic cloves, minced
- 1 teaspoon dried oregano
- 1/2 teaspoon cumin
- Salt and pepper to taste
How to do it:
- Combine marinade ingredients in a zip-lock bag or shallow dish.
- Add dry-patted chicken thighs and coat well.
- Refrigerate for 2 to 8 hours.
- Remove thighs, shake off excess marinade, and pat lightly dry.
- Air fry at 380°F for 22 to 25 minutes, flipping once.
- Confirm 165°F internal temperature. Rest before storing.
Edge case: If you use a marinade with honey or sugar, watch the skin closely after the flip. Sugar can burn quickly at high heat. Reduce temperature to 370°F if you see too much browning before the meat is cooked through.
For a specific flavor variation, see our air fryer teriyaki chicken meal prep guide, which uses a similar marinade approach with a sweet-savory glaze.
Method 3: Sauce Glaze
Best for: Meal preppers who want restaurant-style flavor with minimal effort, and who enjoy saucy proteins in their bowls.
A sauce glaze is applied during the last few minutes of cooking, not at the start. This prevents burning and creates a sticky, caramelized coating that clings to the skin.
How to do it:
- Season thighs with oil, salt, pepper, and garlic powder.
- Air fry at 380°F for 18 minutes, flipping once at the 10-minute mark.
- Brush your chosen sauce (BBQ, buffalo, teriyaki, honey sriracha) on both sides.
- Return to air fryer for 4 to 5 more minutes at 380°F until the glaze sets and the internal temperature hits 165°F.
- Rest 5 minutes before storing.
Pull quote: “Applying the sauce in the last 4 to 5 minutes of cook time is the difference between a caramelized glaze and a burnt mess.”
Choose this method if: you want to batch-cook plain thighs and then glaze individual portions with different sauces to avoid eating the same flavor all week.
For more sauce-based inspiration, our air fryer buffalo chicken meal prep and air fryer BBQ chicken meal prep guides walk through full recipes using this exact approach.
Method 4: Compound Butter Under the Skin
Best for: Meal preppers who want the richest, most restaurant-quality result and do not mind a slightly higher fat content.
Compound butter is softened butter mixed with herbs and aromatics, then pushed directly under the chicken skin before cooking. As the thigh cooks, the butter melts slowly into the meat, basting it from the inside out. The result is deeply moist, flavorful chicken that holds up beautifully after refrigeration.
Simple compound butter recipe (for 4 thighs):
- 3 tablespoons softened unsalted butter
- 2 garlic cloves, finely minced
- 1 tablespoon fresh parsley, chopped
- 1/2 teaspoon lemon zest
- Salt and pepper to taste
How to do it:
- Mix butter ingredients together until combined.
- Carefully lift the skin on each thigh without tearing it.
- Push about 1 tablespoon of compound butter under the skin of each thigh and spread evenly.
- Season the outside of the skin with salt and pepper.
- Air fry at 390°F for 22 to 25 minutes, flipping once at 12 minutes.
- Confirm 165°F internal temperature. Rest 5 minutes before storing.
Common mistake: Using cold butter. It will not spread under the skin without tearing it. Always let the butter soften at room temperature for 20 to 30 minutes first.
Air Fryer Temperature and Timing Guide
| Method | Bone-in or Boneless | Temperature | Cook Time | Flip? | Internal Temp Target |
|---|---|---|---|---|---|
| Dry Brine (bone-in) | Bone-in | 380°F (193°C) | 22-25 min | Yes, at 12 min | 165°F (74°C) |
| Dry Brine (boneless) | Boneless | 375°F (190°C) | 16-18 min | Yes, at 9 min | 165°F (74°C) |
| Wet Marinade | Bone-in | 380°F (193°C) | 22-25 min | Yes, at 12 min | 165°F (74°C) |
| Sauce Glaze | Bone-in | 380°F, then 380°F | 18 min + 4-5 min | Yes, at 10 min | 165°F (74°C) |
| Compound Butter | Bone-in | 390°F (199°C) | 22-25 min | Yes, at 12 min | 165°F (74°C) |
Note: Times are based on bone-in, skin-on thighs averaging 6 to 8 oz each. Boneless thighs will cook in 16 to 20 minutes. Always verify with a thermometer, not time alone.
For a full reference on settings by protein, bookmark our air fryer cooking times cheat sheet.
Cost Per Serving by Method
Based on August 2026 U.S. grocery prices. Bone-in, skin-on thighs average $2.49 to $3.49/lb, making each 6 to 8 oz thigh roughly $1.50 to $2.25. At a fast-casual restaurant, a comparable chicken thigh plate runs $14 to $18. All four methods deliver 26 to 27g of protein for under $3.25, compared to $14 to $18 for the same meal out.
| Method | Extra Ingredients | Added Cost | Cost Per Serving (1 thigh) | Protein Per Serving |
|---|---|---|---|---|
| Dry Brine | Salt, spices only | ~$0.15 | $1.65-$2.40 | ~26g |
| Wet Marinade | Olive oil, lemon, garlic, herbs | ~$0.60 | $2.10-$2.85 | ~26g |
| Sauce Glaze | Store-bought sauce (BBQ/teriyaki/buffalo) | ~$0.75 | $2.25-$3.00 | ~25g |
| Compound Butter | Butter, fresh herbs, lemon zest | ~$1.00 | $2.50-$3.25 | ~27g (fat from butter) |
All four methods cost under $3.25 per serving versus $14 to $18 for a restaurant plate of chicken. The dry brine is the most economical. Compound butter gives the best flavor payoff per extra dollar spent. At 26g of protein per thigh, all four methods hit the high-protein target for a main course.
Calorie and Macro Impact: What Each Method Adds
The method you choose changes the final nutrition of your meal prep. Most guides just give you the base chicken macros. Here is what each method actually adds per serving (per thigh), based on the ingredient quantities in the recipes above.
| Method | Added Calories/Thigh | Added Fat | Added Carbs/Sugar | Added Protein | Macro Profile Best For |
|---|---|---|---|---|---|
| Dry Brine | +5 kcal | trace | 0g | 0g | Lowest calorie option. Best for tight calorie tracking or cutting phases. |
| Wet Marinade (olive oil, lemon, garlic) | +40-55 kcal | +4-5g fat | 0g sugar | 0g | Added calories are all fat from olive oil. Good for higher-fat meal plans. No sugar. |
| Sauce Glaze (BBQ or teriyaki, 2 tbsp) | +60-90 kcal | +0-1g fat | +14-22g carbs (12-18g sugar) | 0g | Adds mostly sugar. Check your sauce label. Stubb’s BBQ: 15g sugar/2 tbsp. Kikkoman teriyaki: 8g sugar/2 tbsp. |
| Compound Butter (1 tbsp per thigh) | +100-110 kcal | +11-12g fat | 0g sugar | 0g | Adds primarily saturated fat. Best for maintenance or muscle-building phases. Rich flavor, highest calorie cost. |
Calorie estimates based on USDA FoodData Central for ingredient quantities specified in each method. Sauce glaze values based on Stubb’s Original BBQ Sauce and Kikkoman Teriyaki Sauce nutrition panels, August 2026.
The most common tracking mistake: logging “chicken thigh” in MyFitnessPal without accounting for the method. A compound butter thigh logs about 100 calories higher than the same thigh cooked plain. Over 4 meal prep sessions per week across 5 days, that is a 500-calorie-per-week difference versus the dry brine method. Use the table above to adjust your logging based on which method you used.
How to Store and Reheat Without Losing Moisture
Proper storage is what separates a good meal prep from a dry, disappointing one by Wednesday.
Storage rules:
- Let cooked thighs rest and cool for no more than 2 hours before refrigerating (food safety standard from the USDA).
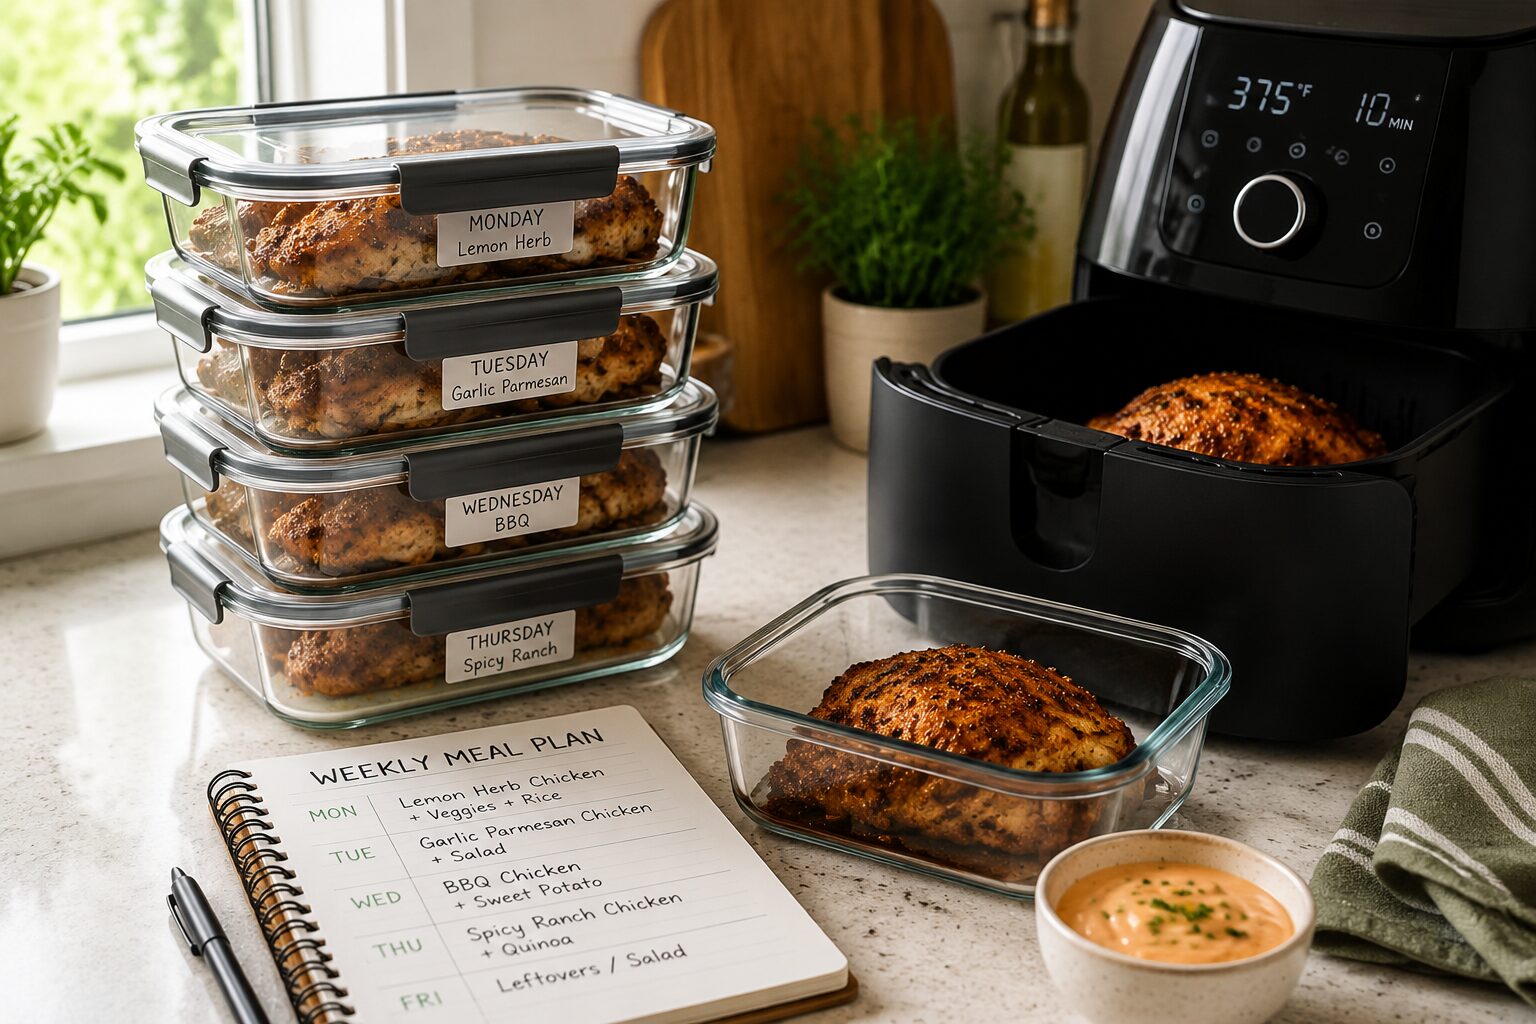
- Store in airtight containers. Glass containers with locking lids work best for maintaining moisture.
- Keep in the fridge for up to 4 to 5 days.
- Freeze for up to 3 months. Wrap individually in foil before placing in a freezer bag to prevent freezer burn.
Reheating in the air fryer (best method):
- Remove thighs from the fridge and let them sit at room temperature for 10 minutes.
- Place in the air fryer basket.
- Reheat at 350°F for 5 to 7 minutes.
- No oil needed if the skin is still intact.
Reheating from frozen:
- Thaw overnight in the fridge, then reheat as above.
- Or reheat from frozen at 350°F for 12 to 15 minutes, checking at the halfway point.
For a complete breakdown of the best reheating techniques, see our guide on how to reheat meal prep in the air fryer.
Storage Quality by Day: Which Method Holds Up Best
These are Maya’s tested observations from eating each method across a full 5-day meal prep week. No other guide publishes this comparison.
| Method | Day 1 | Day 2 | Day 3 | Day 4-5 |
|---|---|---|---|---|
| Dry Brine | Crispy skin, deeply seasoned, peak texture | Very good: skin softens, meat still juicy | Good: reheat in air fryer at 350°F to revive | Fine with proper reheating; eat by Day 5 |
| Wet Marinade | Bright, punchy flavor, slightly soft exterior | Peak: marinade fully soaks into meat overnight | Very good: flavor deepens further | Good: best marinade longevity of the four |
| Sauce Glaze | Sticky caramelized exterior, restaurant look | Very good: glaze softens and integrates into meat | Good: glaze becomes more of a rub texture | Eat by Day 4; sauce thins noticeably by Day 5 |
| Compound Butter | Richest, most succulent of all four methods | Peak: butter continues basting cold meat in fridge | Excellent: highest moisture retention of all methods | Best at Day 4-5 out of all four methods |
The #1 finding: Compound butter holds moisture the longest. If you prep Sunday and eat through Friday, compound butter and wet marinade are your best choices. Dry brine is ideal for meals eaten Days 1 through 3. Sauce glaze is best Days 1 and 2 when the exterior is at its peak texture.
Meal Bowl Ideas for the Week
Once you have four cooked thighs using any of the methods above, here are practical ways to use them across different meals:
- Monday: Dry brine thigh over rice with roasted broccoli and a drizzle of tahini
- Tuesday: Wet marinade thigh sliced into a grain bowl with quinoa, cucumber, and tzatziki
- Wednesday: Sauce glaze thigh with sweet potato cubes and steamed greens
- Thursday: Compound butter thigh over cauliflower mash with sauteed spinach
- Friday: Any thigh shredded into a wrap with lettuce, avocado, and hot sauce
For sides that pair well with these proteins, check out our air fryer broccoli meal prep and air fryer sweet potato cubes meal prep guides.
What Doesn’t Work: Method Failure Modes
These are the specific ways each method can fail in practice. No other guide covers this because most are written from a single test, not a full week of eating through the results.
Dry Brine Failure: Skipping the Rest Time
If you skip the 1-hour fridge rest and cook immediately after applying the dry brine, the salt sits only on the surface. The skin crisps, but the meat inside tastes bland and dries out faster by day 3. Fix: rest for at least 1 hour. Overnight (up to 24 hours) is better.
Wet Marinade Failure: Marinating Too Long in Acid
A marinade with lemon juice or vinegar left on chicken thighs for more than 12 hours starts breaking down the surface proteins. The skin becomes tacky, the exterior turns gray before cooking, and the finished texture is mushy rather than tender. Fix: 2 to 8 hours for acidic marinades. For oil-and-herb marinades with no acid, 24 hours is fine.
Sauce Glaze Failure: Applying the Sauce Too Early
Brushing sauce onto the thighs at the start of cooking instead of the last 4 to 5 minutes causes the sugar in the sauce to burn before the meat reaches 165°F. The result is a bitter, blackened exterior and undercooked interior. Fix: cook plain for the first 18 minutes, then glaze and finish for 4 to 5 minutes at 380°F.
Compound Butter Failure: Using Cold Butter
Cold butter tears the skin when you try to push it underneath. The skin splits, the butter pools unevenly, and one side of the thigh over-renders while the other stays dry. Fix: soften butter at room temperature for 20 to 30 minutes before mixing and applying. It should be spreadable, not melted.
Common Mistakes That Dry Out Meal Prep Chicken Thighs
Even with the right method, a few easy mistakes can ruin the texture by day two.
1. Overcrowding the basket. When thighs are too close together, steam builds up and the skin turns soft instead of crispy. Cook in a single layer with at least half an inch between each piece.
2. Skipping the rest period. Cutting into chicken right after cooking forces the juices out onto the cutting board instead of staying in the meat. Five minutes of resting makes a real difference.
3. Storing while still hot. Placing hot chicken directly into sealed containers traps steam, which makes the skin soggy and can raise the temperature inside the container, creating a food safety risk.
4. Reheating at too high a temperature. Blasting cold chicken at 400°F dries out the exterior before the inside warms through. Use 350°F and check at 5 minutes.
5. Using only boneless, skinless thighs without adjusting cook time. Boneless thighs cook faster. At the same time and temperature as bone-in thighs, they can overcook and dry out.
Honest Downsides: What This Approach Costs You
- Compound butter adds 100-110 calories per thigh from saturated fat. For a 4-thigh batch that is 400-440 extra calories for the week’s prep. If you are in a calorie deficit, this method shifts your macros meaningfully. The dry brine gives you the same protein for 5 calories of extras instead of 100+.
- Sauce glaze methods add 12-22g of sugar per thigh from store-bought sauces. Most BBQ sauces run 12-16g sugar per 2 tablespoons. Teriyaki is better at 8g. If you are tracking carbs or managing blood sugar, the sauce glaze method is the highest-carb option by a significant margin. Make your own sauce from soy sauce, mirin, and garlic to control the sugar.
- Wet marinade requires 2-8 hours of advance planning. If you decide to prep Sunday morning and start at 9am, a wet marinade that needs a minimum 2 hours means the earliest you eat is noon. For people who prep same-day without planning ahead, dry brine (1 hour minimum) or compound butter (no waiting) is more realistic.
- Bone-in, skin-on thighs cost $0.50-$1.00/lb more than boneless skinless at most stores. For a 4-thigh batch (about 2 lbs), that is $1-$2 more per prep session. Over 52 prep sessions per year, that is $52-$104 extra annually. The texture difference is worth it for most people, but the cost is real. Boneless thighs cooked at 375°F for 16-18 minutes are a legitimate budget alternative with only a modest texture trade-off.
FAQ
Q: Can I meal prep chicken thighs with the skin on and still eat the skin later?
Yes. The skin stays relatively crispy for the first day or two if stored in an airtight container without stacking the thighs on top of each other. By day three, the skin softens. Reheating in the air fryer at 350°F for 5 to 7 minutes brings back most of the crispness.
Q: How long do air fryer chicken thighs last in the fridge?
4 to 5 days in an airtight container, according to USDA food safety guidelines. For longer storage, freeze them.
Q: Can I use frozen chicken thighs directly in the air fryer?
You can, but they will not absorb marinades or dry brines before cooking. For meal prep purposes, thaw first so the seasoning can penetrate the meat. If cooking from frozen, add 10 to 15 minutes to the cook time and verify 165°F internal temperature.
Q: What is the best air fryer size for cooking 4 chicken thighs at once?
A 5 to 6 quart basket-style air fryer fits 4 bone-in thighs in a single layer comfortably. Smaller units may require cooking in two batches.
Q: Do I need to preheat the air fryer?
Yes, preheat for 3 to 5 minutes at the target temperature. This helps the skin start crisping immediately when the chicken goes in and improves the final texture.
Q: Which of the 4 methods stays moistest after 4 days in the fridge?
Compound butter holds moisture the longest, because the fat continues to coat the meat fibers even after refrigeration. Wet marinade is a close second and the most versatile for different cuisine styles.
Q: Can I mix and match methods for the same batch?
Yes. A practical approach is to cook all four thighs plain (dry brine) and then glaze two of them with sauce after cooking. This gives you variety without running multiple batches.
Q: Is it safe to marinate chicken in the fridge overnight?
Yes, up to 24 hours is safe and effective. Beyond 24 hours with acidic marinades (lemon, vinegar), the surface texture can become mushy. For non-acidic marinades like oil and herbs, 24 to 48 hours is fine.
Pick Your Method This Sunday
The 4 juicy air fryer chicken thighs meal prep methods that stay moist work because they each address the same core problem from a different angle: keeping fat and flavor in the meat through cooking, storage, and reheating.
Here are your actionable next steps:
- Pick one method that matches your flavor preference this week and cook a batch of four thighs.
- Use the temperature and timing table above to set your air fryer correctly.
- Rest the chicken for 5 minutes before storing in airtight containers.
- Reheat in the air fryer at 350°F, not the microwave, for the best texture.
- Try a different method next week to rotate flavors and avoid meal prep fatigue.
If you want to go deeper on the full process, our complete air fryer chicken thighs meal prep guide covers additional flavor combinations, side pairings, and weekly planning tips.
Written by Maya Carter, meal prep writer and home cook at BeefSteakVeg. Tested in Maya’s kitchen, August 2026. Last reviewed September 2026.
Maya Carter | Editorial Policy | Affiliate Disclosure
Nutrition note: BeefSteakVeg shares general food and meal prep information only. This is not medical or nutritional advice. Always check product labels, ingredients, allergens, serving sizes, prices, storage instructions, and safe cooking temperatures before preparing or eating foods. Talk to a qualified health professional for personal nutrition guidance.